
iFrame嵌入开发
山海鲸虽然提供了二次开发的接口,可以通过代码很方便的对已有的组件进行功能上的扩展;也支持直接通过 eCharts 组件实现基于 eCharts 来从 0 构建的新组件。但是还是会有一些时候我们需要完全自由的开发环境,比如希望引入第三方的组件库,希望自己写 css 和 html 等,这种情况就可以使用 iFrame 嵌入的方式。
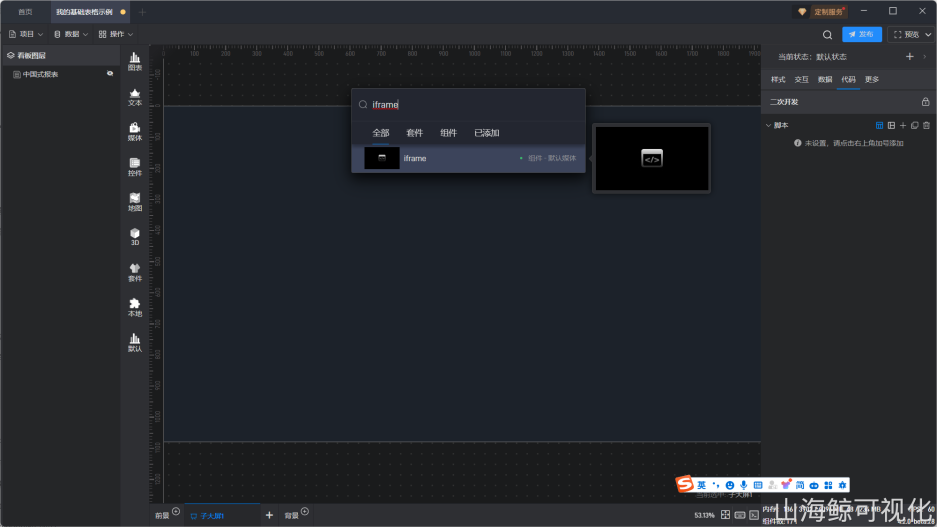
嵌入 iFrame 组件
首先插入一个 iFrame 组件:
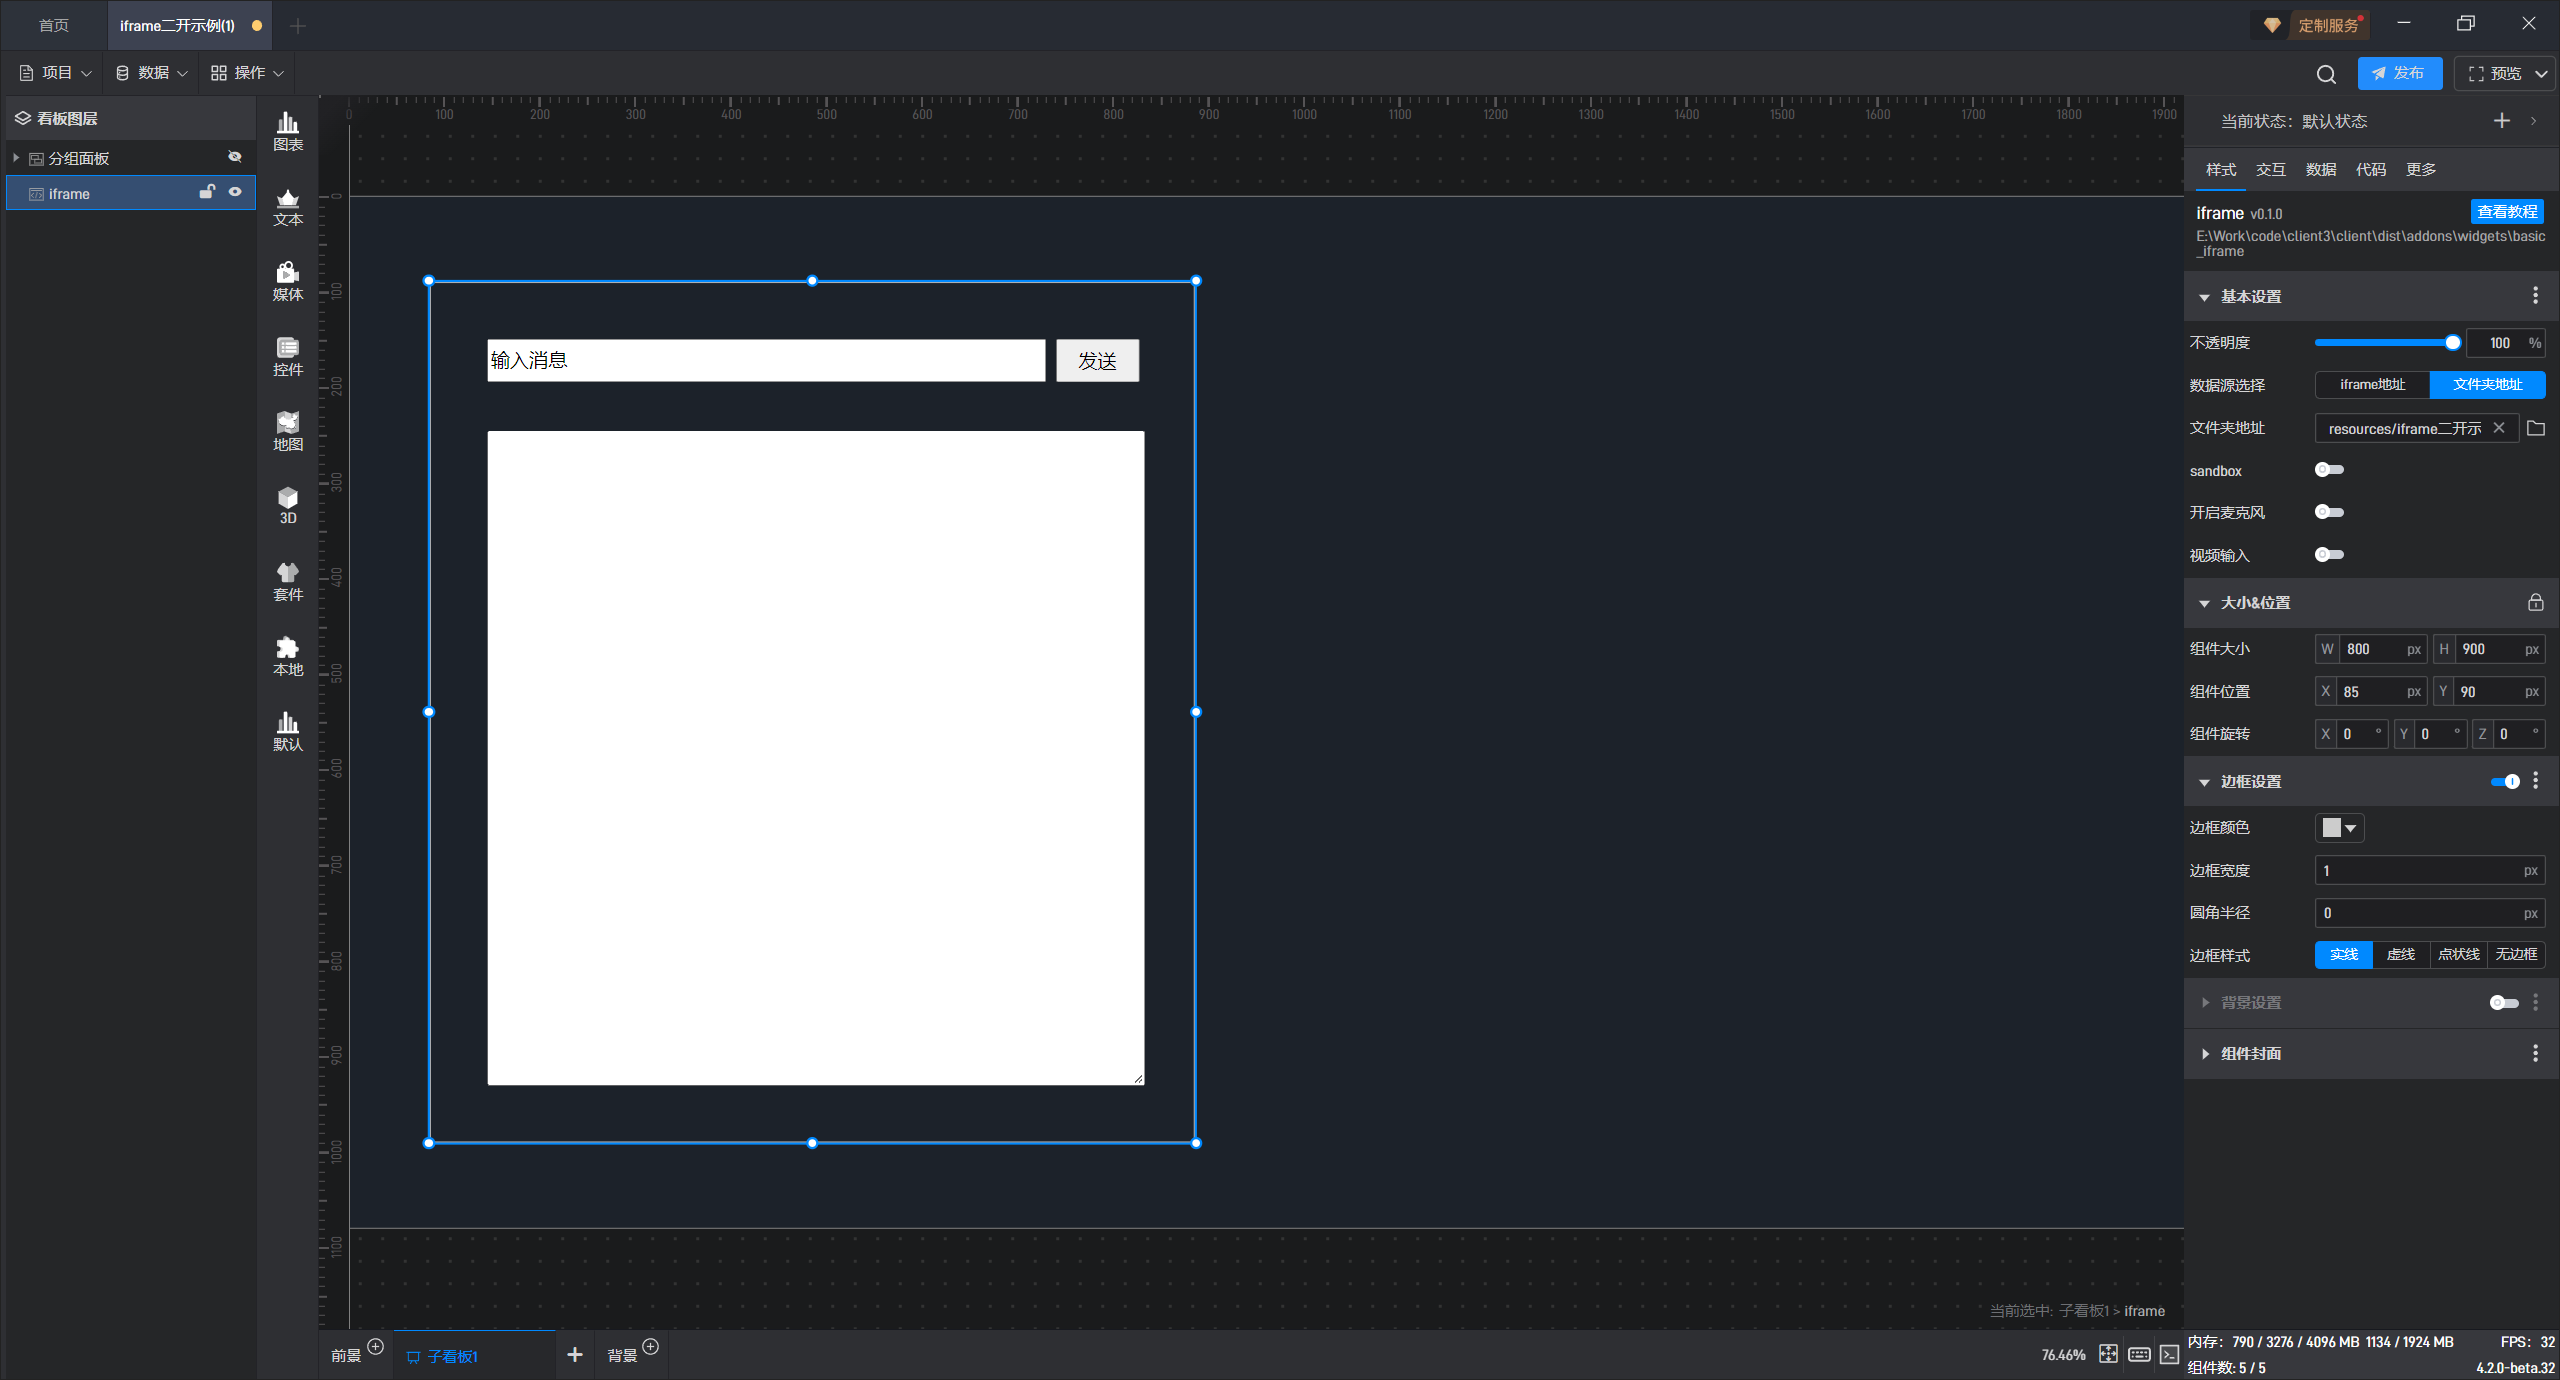
插入 iframe 之后,将 iframe 属性中数据源选择的设置成文件夹地址:
然后在本地新建一个文件夹,在文件夹中新建一个 index.html,写入以下代码:
<!doctype html>
<html>
<head>
    <meta charset="utf-8">
    <meta http-equiv="X-UA-Compatible" content="IE=edge">
    <meta name="viewport" content="initial-scale=1.0, user-scalable=no, width=device-width">
    <title>iframe二开示例</title>
    <style>
        body {
            overflow: hidden;
        }
        * {
            font-size: 20px;
        }
        .container {
            padding: 50px;
        }
        .container .box1 {
            display: flex;
        }
        #msg-input {
            height: 40px;
            line-height: 40px;
            width: 100%;
        }
        #send-btn {
            margin-left: 10px;
            width: 100px;
        }
        .container textarea {
            width: 100%;
            height: 680px;
            margin-top: 50px;
        }
    </style>
</head>
<body>
<div class="container">
    <div class="box1">
        <input id="msg-input" type="text" name="msg" value="输入消息">
        <input id="send-btn" type="button" value="发送" onclick="sendMessage()">
    </div>
    <textarea id="content" readonly></textarea>
</div>
<script type="text/javascript">
    window.addEventListener("message", (ev)=>{
        const msg = ev.data.msg;
        if (msg) {
            const textarea = document.getElementById("content");
            const value = textarea.value;
            textarea.value = value ? value + "\n" + msg : msg;
        }
    });
    function sendMessage() {
        const msg = document.getElementById("msg-input").value;
        window.parent.postMessage({
            msg: msg,
        }, "*");
    }
</script>
</body>
</html>
回到山海鲸软件中,选中 iFrame 组件,在前面提到的属性面板中的文件夹地址选择刚刚创建的文件夹,点击确定,可以看到,网页中的元素已经正常显示了,我们简单的调整一下 iFrame 组件的位置:
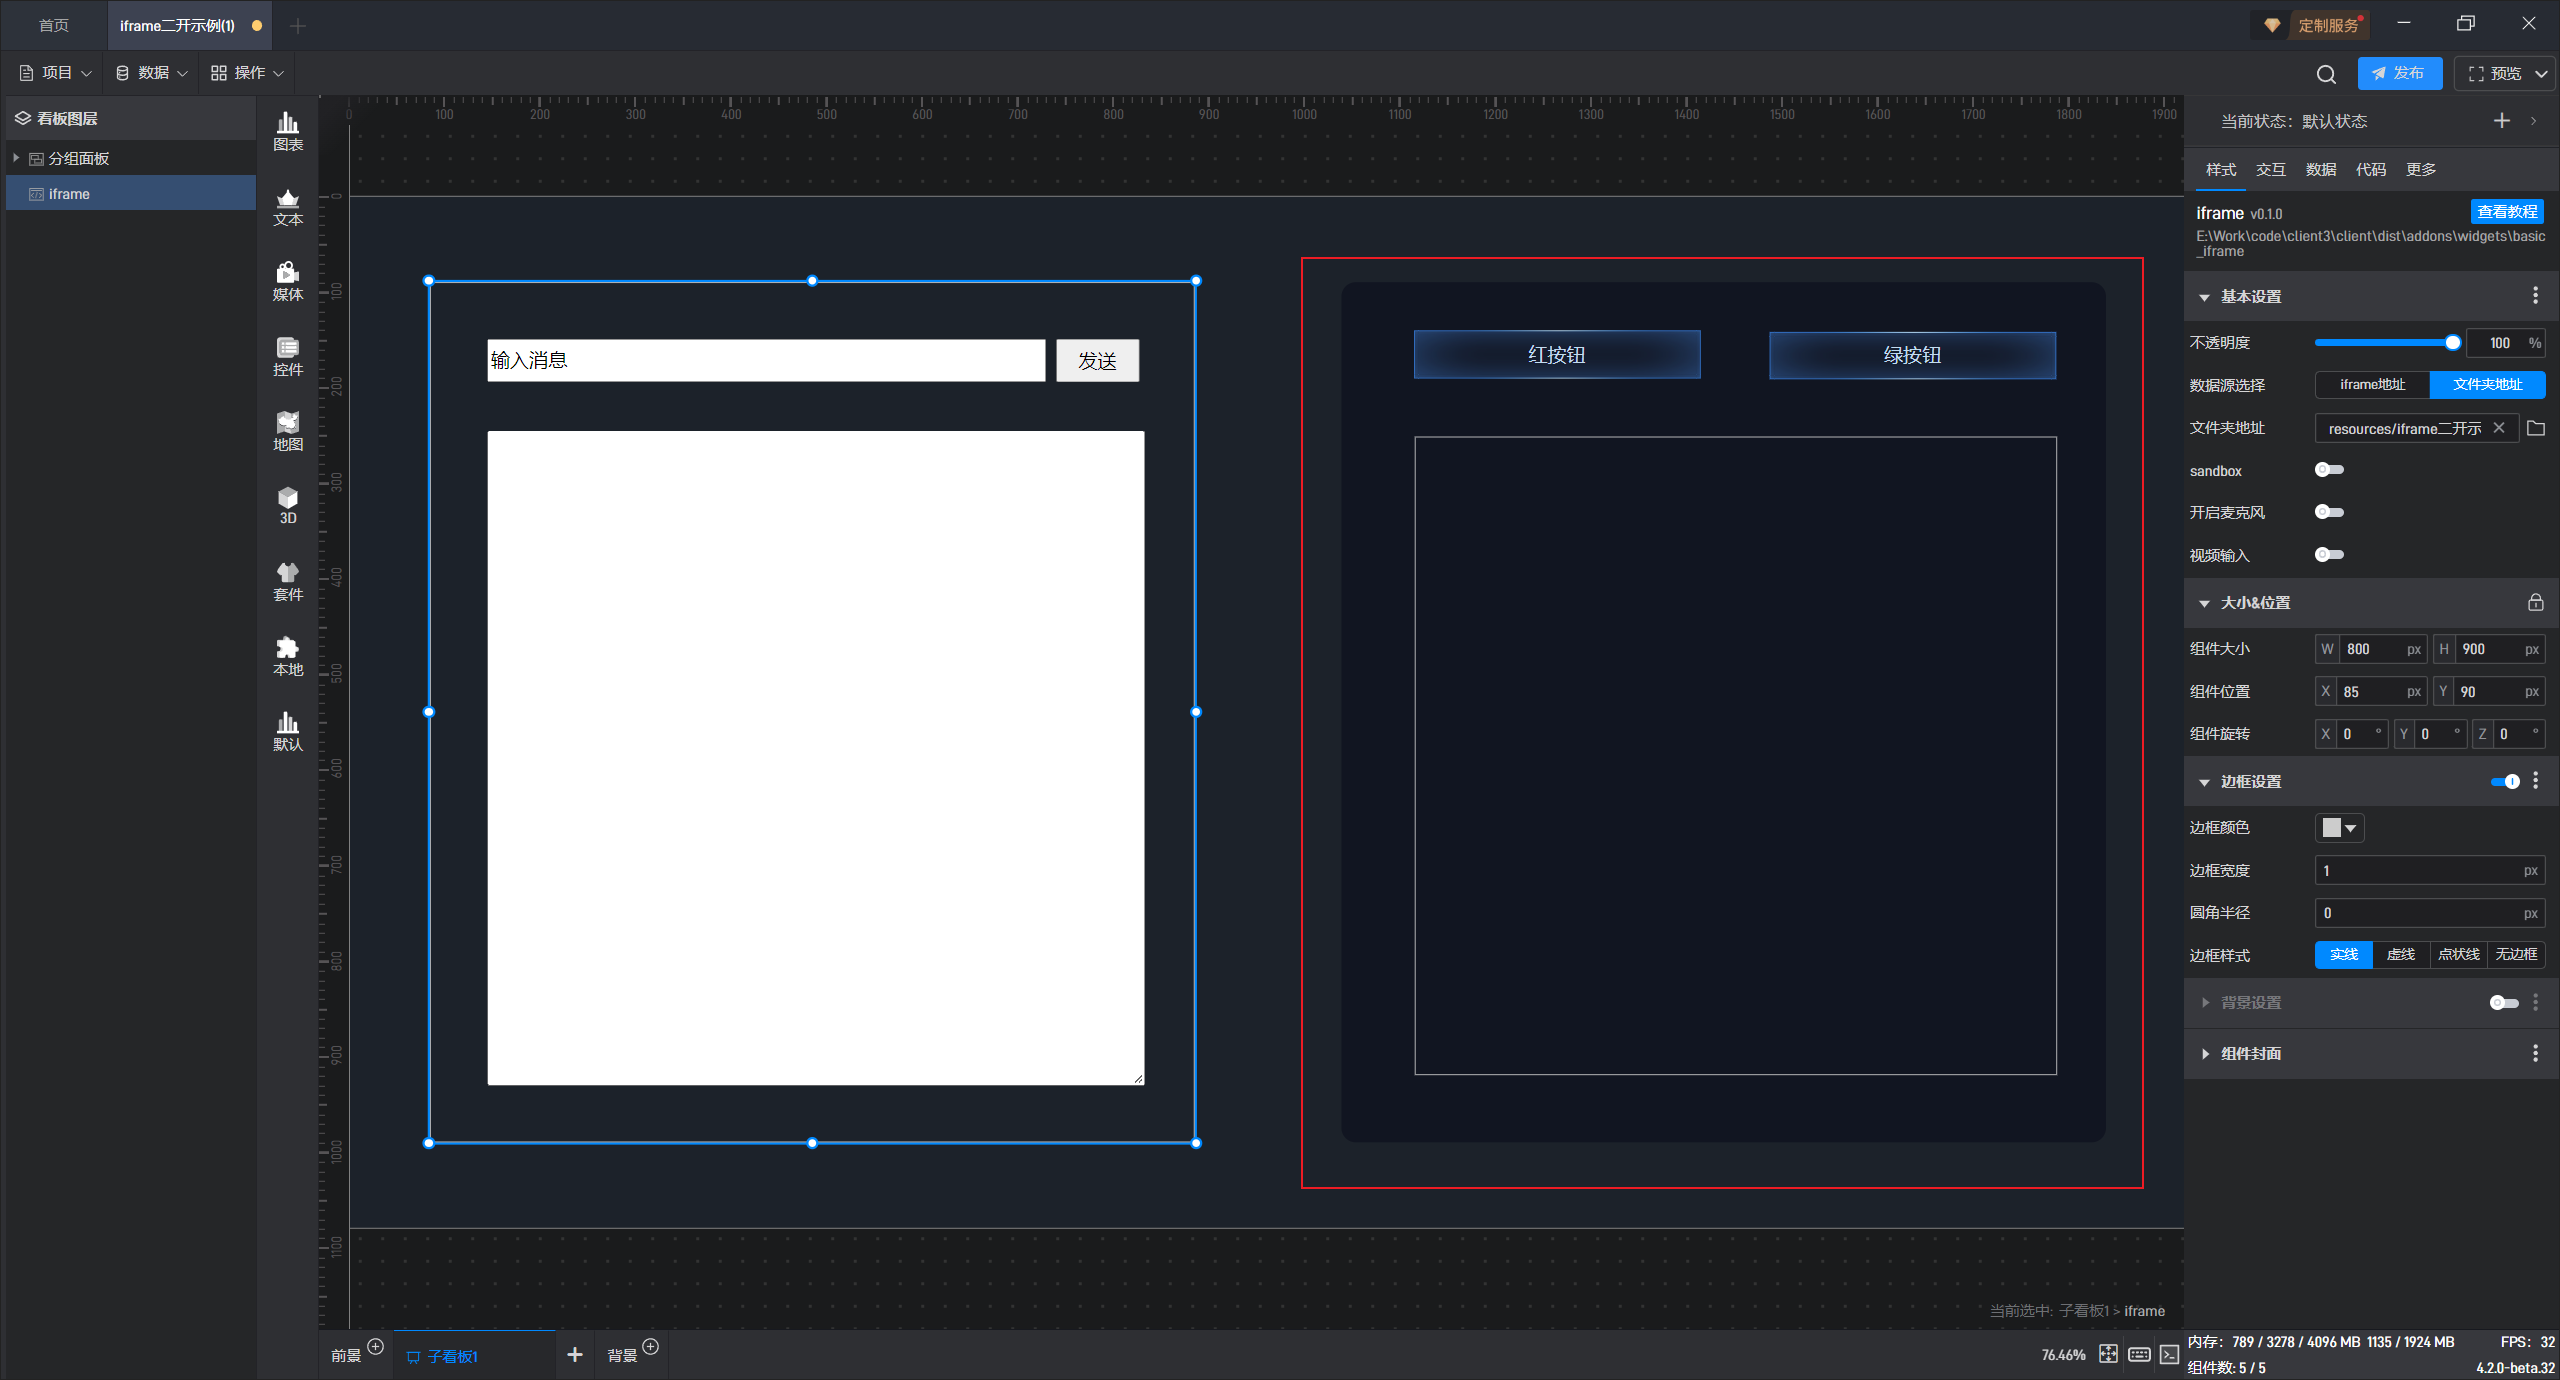
此时 iFrame 组件的基本功能就已经可以使用了,接着我们来处理 iFrame 组件和山海鲸内组件的通信,首先在山海鲸内添加上按钮和多行文本组件,如图所示:
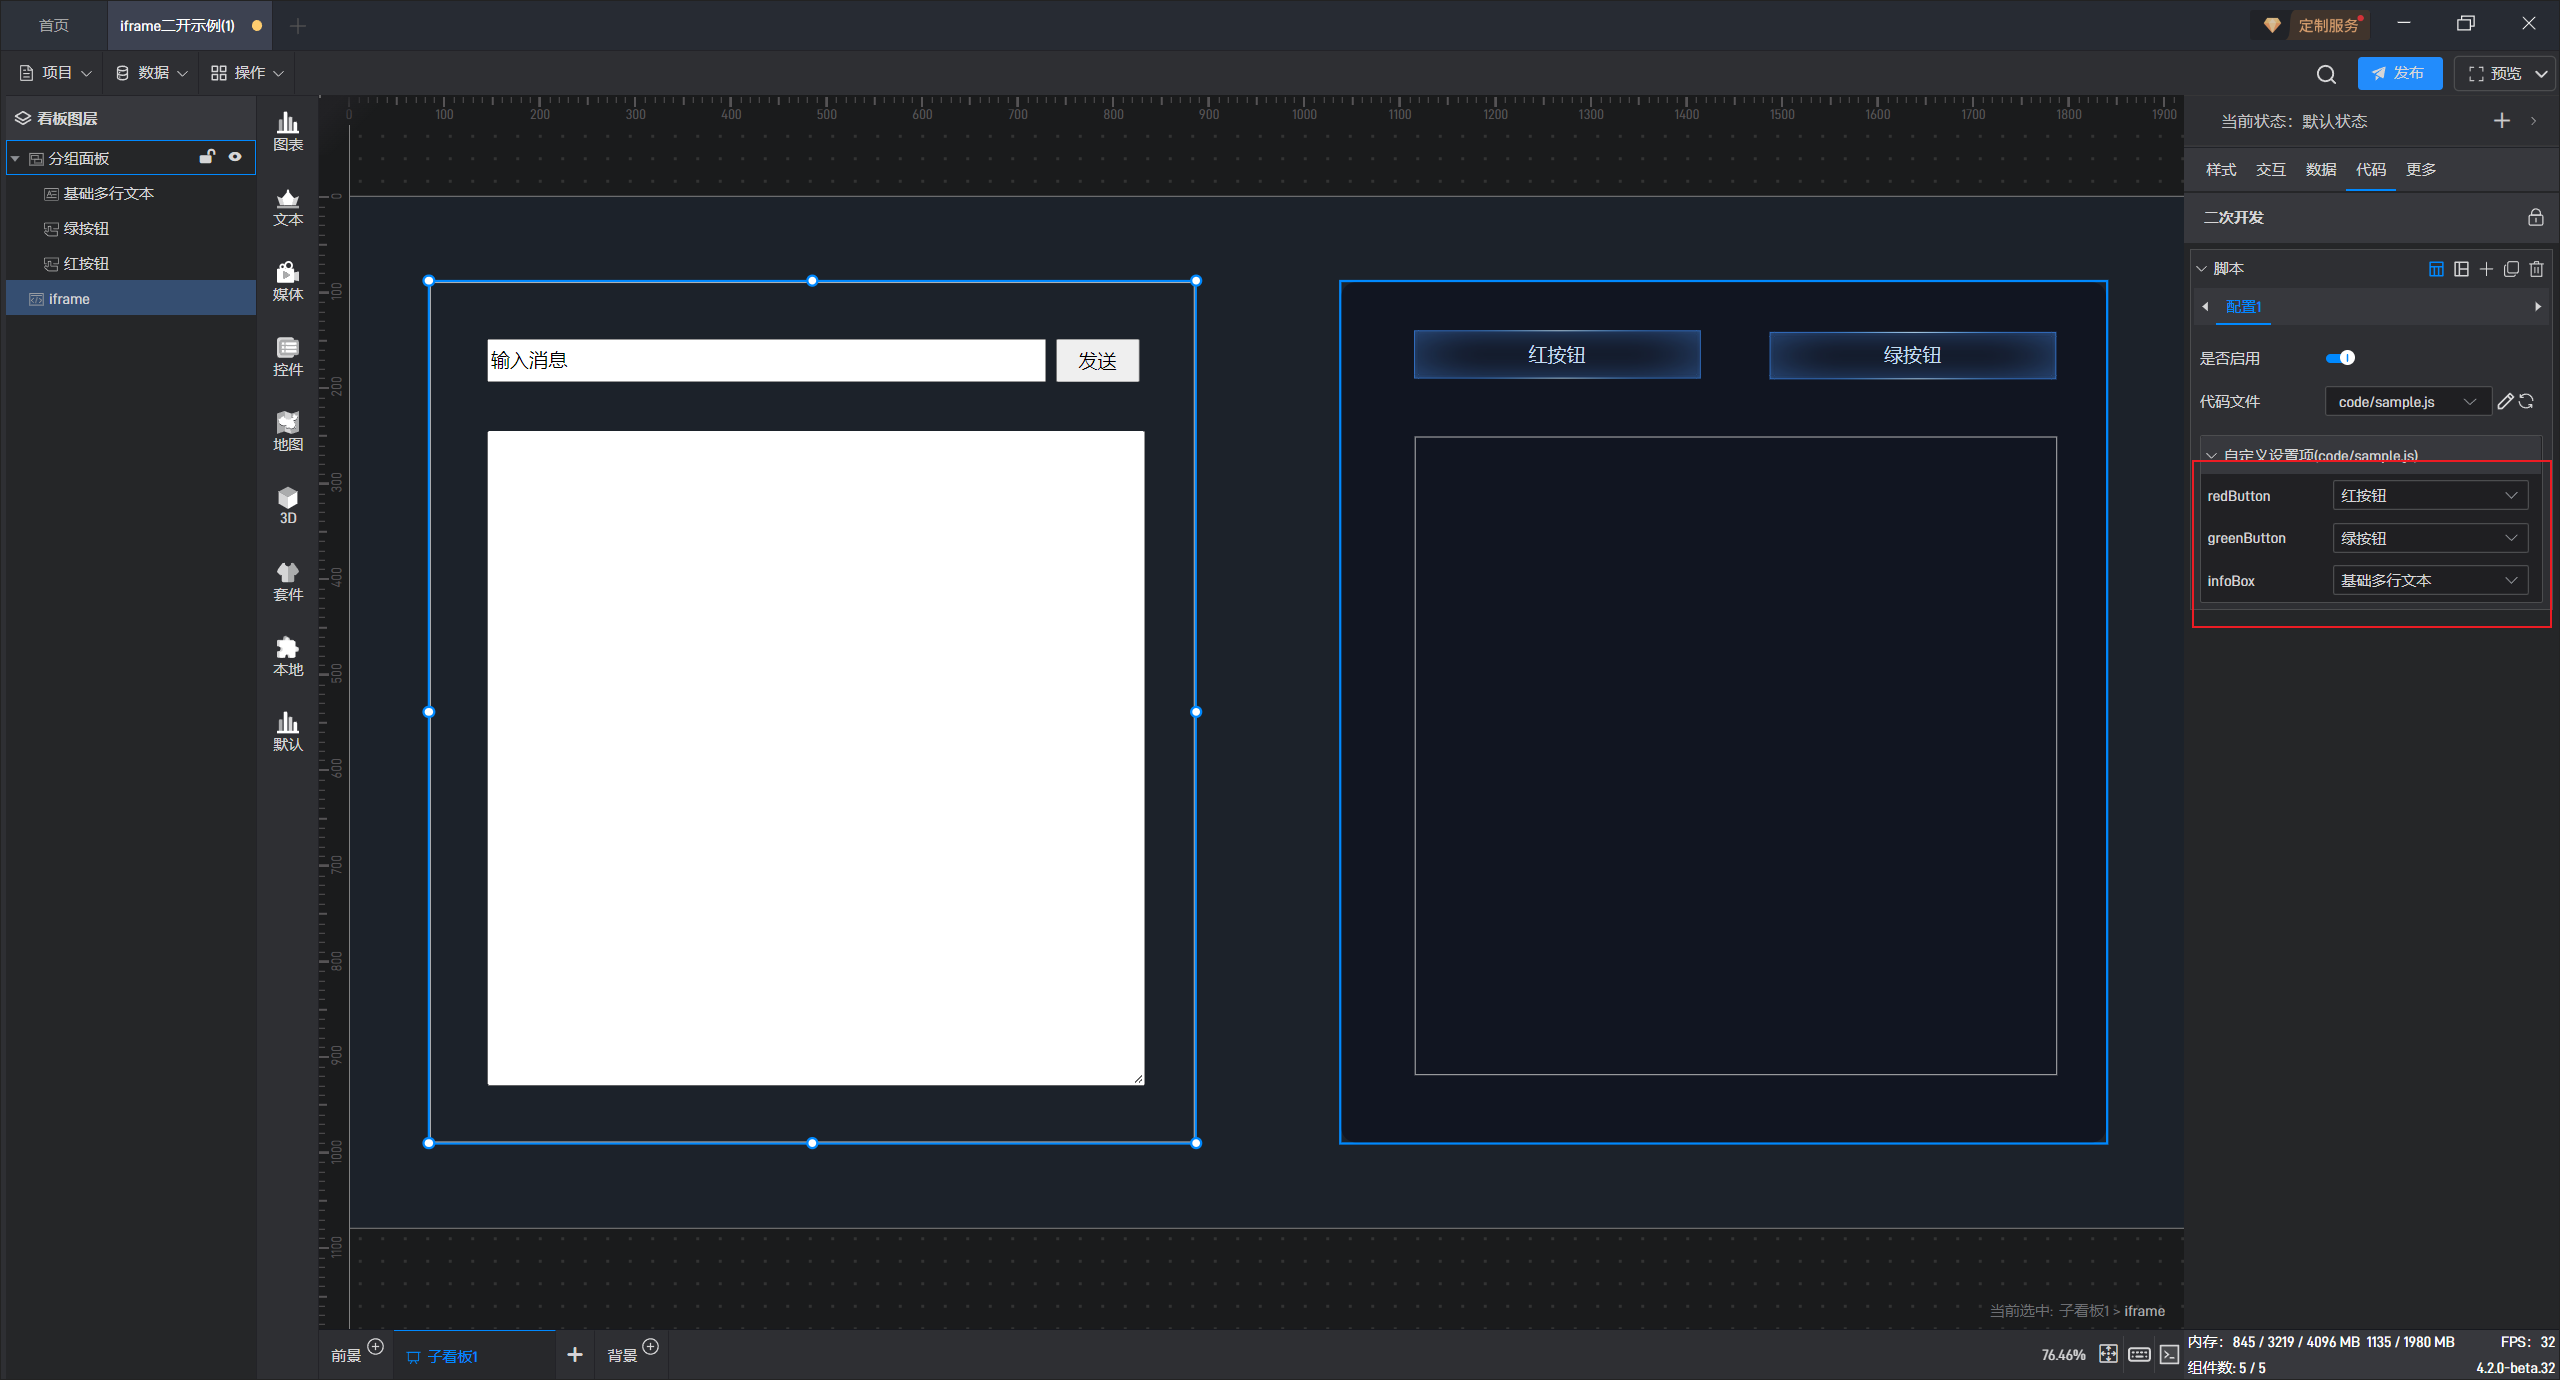
然后重新选中 iFrame,点击右侧的代码选项卡,点击新建按钮创建一个二开代码文件,点击编辑文件,将以下代码贴如到二开代码文件中并保存:
// 二次开发API参考 https://www.shanhaibi.com/docs/v1/tx9rigt2ff6e0m1h/

export class SampleExtension {
  redButton = Element.empty();
  greenButton = Element.empty();
  infoBox = Element.empty();

  async init() {
    this.iframe.onMessage((ev) => {
      const msg = ev.data.msg;
      if (msg) {
        const line = "收到iframe发送的消息:" + msg;
        const text = this.infoBox.getOption("text");
        this.infoBox.setOption("text", text ? text + "\n" + line : line);
      }
    });
    this.redButton.addEventListener("click", (ev) => {
      this.iframe.postMessage(
        {
          msg: "点击了红按钮",
        },
        "*"
      );
    });
    this.greenButton.addEventListener("click", (ev) => {
      this.iframe.postMessage(
        {
          msg: "点击了绿按钮",
        },
        "*"
      );
    });
  }
}
保存好之后,文件选框右侧的刷新按钮,就可以看到二开代码下方出现了三个组件选择框,我们分别选择山海鲸内的两个按钮组件和一个多行文本组件:
选择好之后,就可以看到 iFrame 内的内容和山海鲸组件的内容就可以正常通信了:
